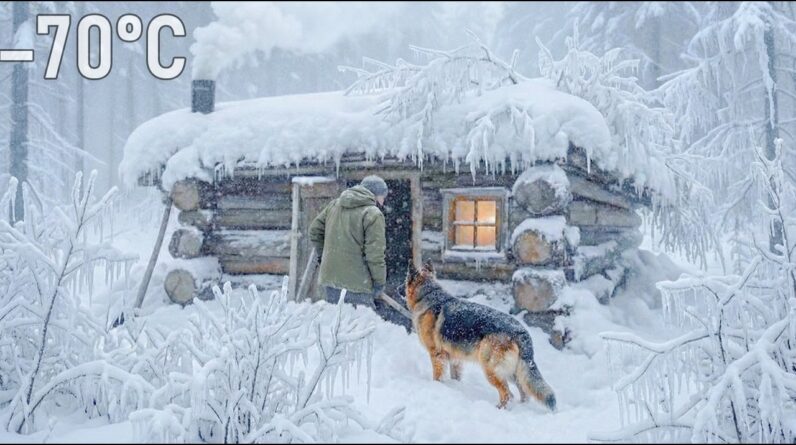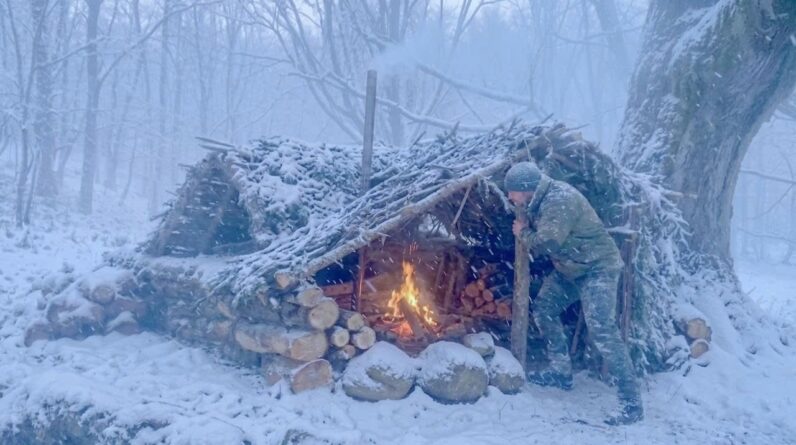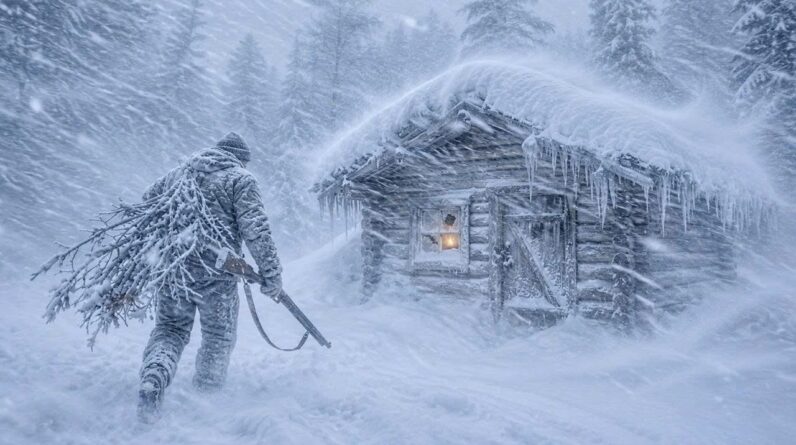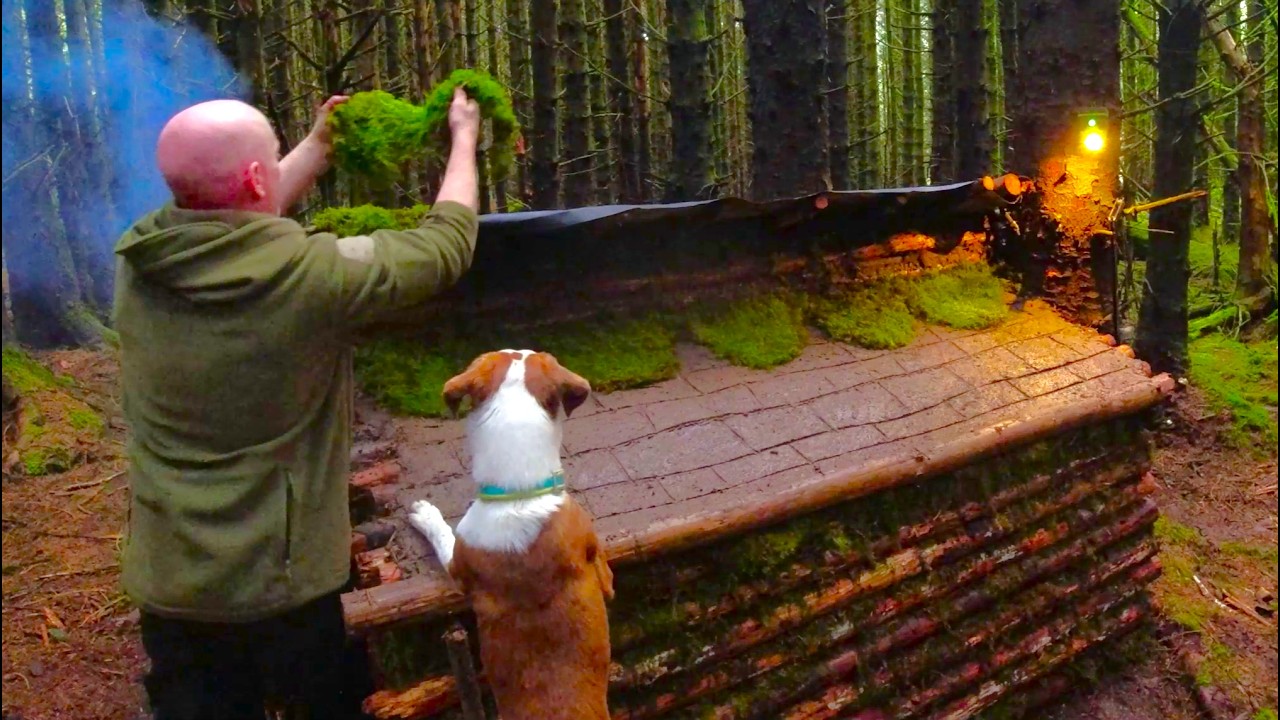
Building a log shelter in the woods is one of the most rewarding bushcraft skills you can develop. In the video above, Paddy from Paddys Bushcraft demonstrates how to construct a warm, cozy log shelter using nothing but hand tools and materials sourced directly from the forest. Whether you are a seasoned bushcrafter or just starting to explore wilderness living skills, this build showcases practical techniques for creating a weather-resistant shelter that can hold heat and keep you comfortable in cold conditions.
What makes this build particularly valuable is the step-by-step approach. Paddy walks through the entire process from selecting the right location and gathering materials to stacking logs, sealing gaps, and finishing the shelter with natural insulation. Along the way, he shares insights about tool selection, wood processing efficiency, and design choices that maximize warmth. By the end of this guide, you will understand the core principles of log shelter construction and be ready to apply them on your next trip into the woods.
Key Survival Takeaways
- Site selection is everything: Choose a location with good drainage, natural wind protection, and close access to building materials. A flat area near a stand of small trees saves enormous energy on transport. Avoid low-lying spots where water pools after rain.
- Use small-diameter logs for walls: You do not need massive timber. Small logs and branches, stacked horizontally, create walls that are easier to build with hand tools and provide excellent insulation when gaps are sealed with mud, moss, or leaves.
- Notch your logs for stability: Cutting simple saddle notches where logs intersect keeps walls from shifting under weight or wind pressure. This is a fundamental log cabin technique scaled down for bushcraft shelters.
- Seal every gap with natural materials: Moss, clay, mud, and packed leaves are your insulation. Fill every crack between logs thoroughly. This is what separates a drafty wind break from a shelter that actually retains body heat and fire warmth.
- Build a reflective fire pit close to the opening: Positioning a small fire near the entrance with a rock or log reflector behind it pushes heat into the shelter. The log walls absorb and radiate warmth back, creating a surprisingly cozy interior even in cold weather.
- Roof with layered natural materials: A pitched roof covered with bark, branches, and leaf litter sheds rain effectively. Overlap materials from bottom to top like shingles so water runs off rather than soaking through.
- Work efficiently with the right tools: A quality axe, a folding saw, and a fixed-blade knife handle 90 percent of the work. Sharp tools are safer and faster. Process wood in batches rather than making repeated trips.
Gear and Equipment
To build a log shelter like the one in the video, you need a few essential tools. A reliable bushcraft axe is your primary tool for felling small trees and notching logs. Pair it with a compact folding saw for quick crosscuts on branches and smaller material. A sturdy fixed-blade bushcraft knife handles carving, notching, and fine work. For comfort during long builds, a pair of leather work gloves protects your hands from splinters and blisters. Finally, a ferrocerium rod fire starter ensures you can get your reflective fire going in any conditions.
As an Amazon Associate, we earn from qualifying purchases.
Conclusion
Building a log shelter is a foundational bushcraft skill that bridges the gap between temporary survival and comfortable wilderness living. The techniques Paddy demonstrates show that with basic tools, patience, and an understanding of natural materials, you can create a shelter that is genuinely warm and weatherproof. Practice these methods on your next outing, and you will gain confidence in your ability to thrive outdoors, not just survive.