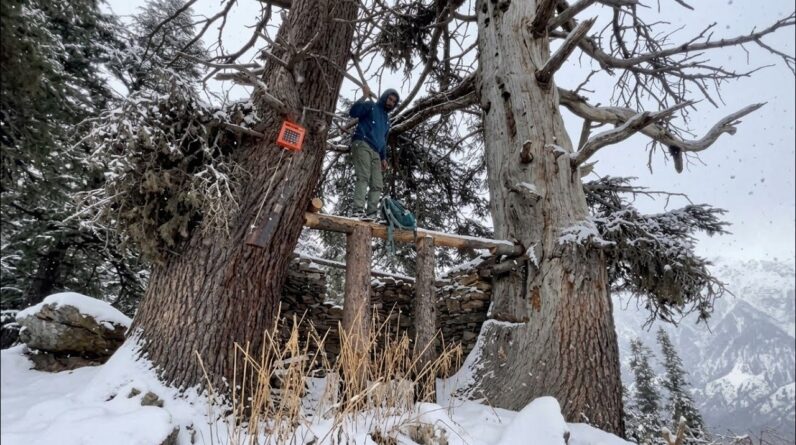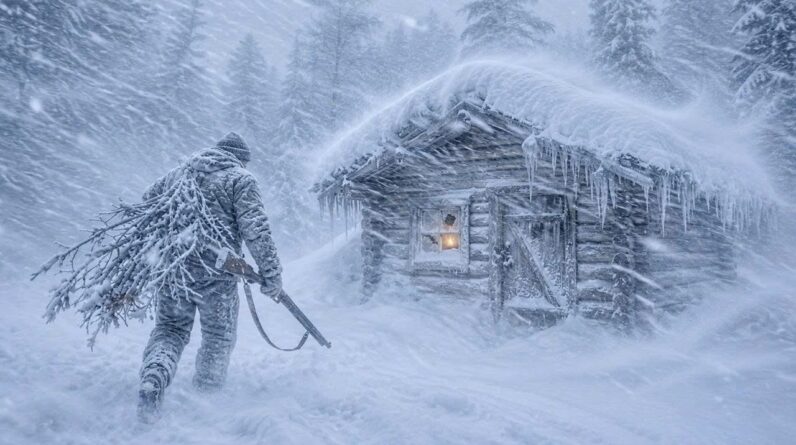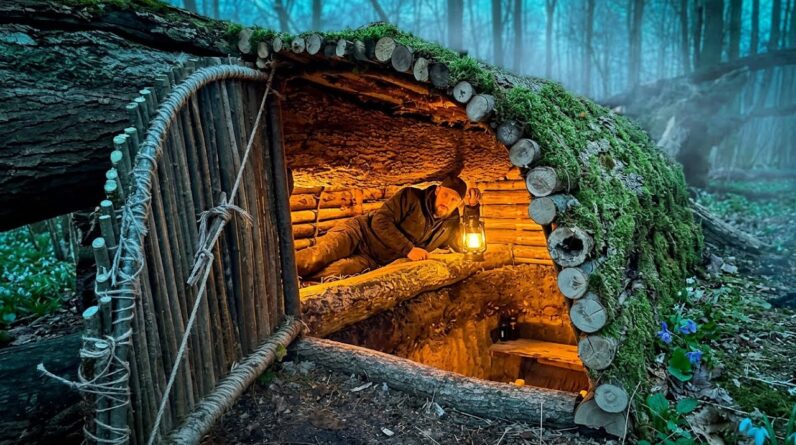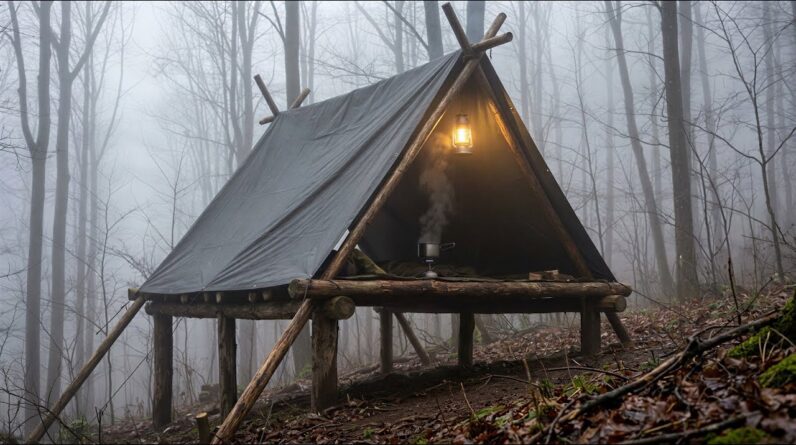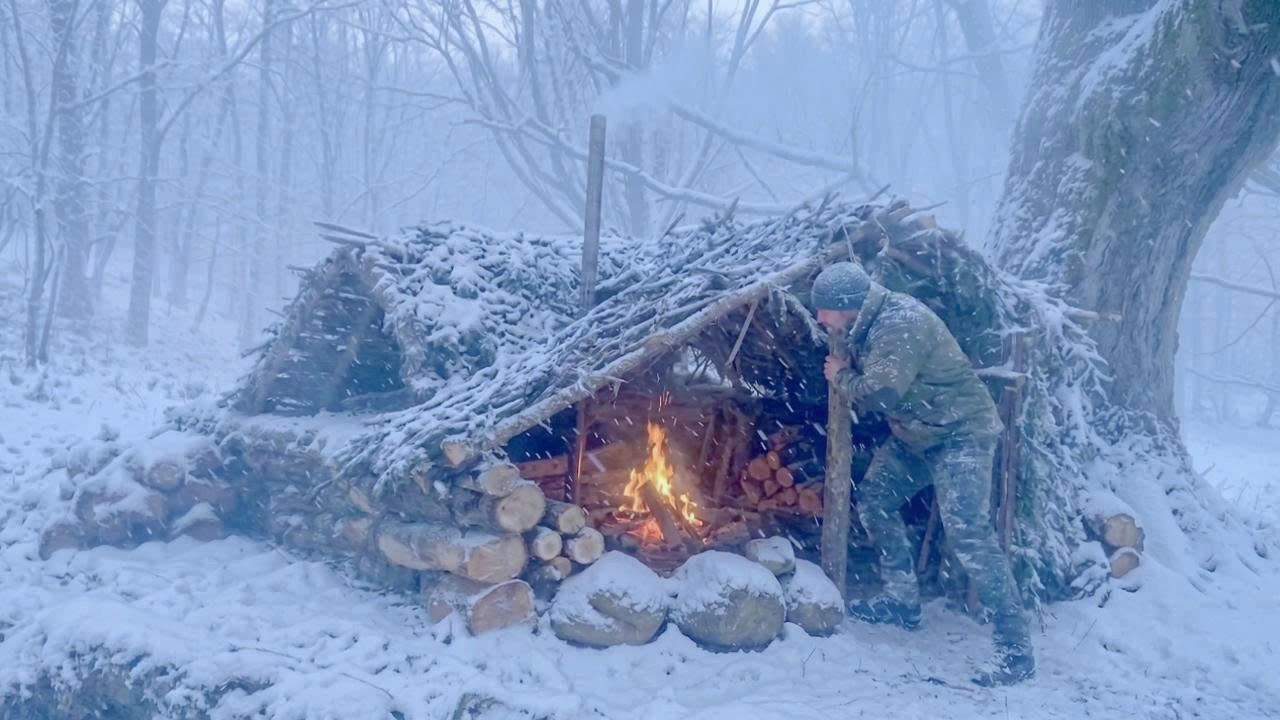
When a powerful snowstorm hits the wilderness, your ability to build a survival shelter from whatever nature provides could mean the difference between life and death. In this video from the Beyond Survival channel, we watch as a survivor constructs a complete wilderness shelter from branches and natural materials under a tree, all while a brutal snowstorm rages around them. The result is a raw, unfiltered look at what extreme winter survival actually demands.
This guide breaks down the essential techniques demonstrated in the video, from selecting the right tree canopy for natural shelter to building a branch framework that can shed snow and retain heat. You will learn how to layer materials for insulation, establish a fire pit for warmth, and manage the psychological challenges of surviving alone in a frozen wilderness. Whether you are an experienced bushcrafter or just starting to build your winter survival skills, the lessons here are practical, field-tested, and applicable to real-world scenarios.
What sets this demonstration apart is its realism. There is no studio lighting, no scripted narration, and no backup crew standing by. The builder works through deteriorating conditions with limited tools and diminishing daylight, facing the same constraints you would encounter in an actual survival emergency. Every decision, from where to place the shelter to how much firewood to gather before dark, carries real consequences. By studying the techniques shown here, you can build a mental blueprint that will serve you when the stakes are highest.
Key Survival Takeaways
- Use natural tree canopy as your primary shelter foundation. Building underneath a large evergreen tree provides an instant roof that sheds snow and blocks wind. The branches above catch accumulating snow before it reaches your shelter, significantly reducing the load on your constructed roof and keeping the interior drier. Look for trees with low, dense branches that create a natural dome overhead.
- Build a branch framework in a lean-to or A-frame configuration. Start by leaning sturdy branches against the tree trunk or a horizontal ridgepole at roughly 45 degrees. Pack smaller branches tightly between the larger supports to create a solid wall that blocks wind and traps body heat. The closer the angle to the ground, the better the wind resistance and heat retention.
- Layer insulation from ground up. Cold ground drains body heat faster than cold air through conduction. Before building walls, lay down a thick bed of pine boughs, dry leaves, or branches to insulate yourself from the frozen ground. A minimum of six to eight inches of natural material is recommended for winter conditions, and more is always better.
- Prioritize fire placement for maximum heat retention. Build your fire close enough to the shelter opening to radiate heat inside, but far enough to avoid igniting the structure. A reflector wall made of stacked green logs behind the fire can bounce heat back toward your shelter, dramatically improving warmth in subfreezing temperatures. Always keep a supply of water or snow nearby to extinguish stray embers.
- Manage snow accumulation proactively. Heavy snowfall can collapse a poorly built shelter. Periodically clear snow from the roof structure and reinforce load-bearing branches. Angle the roof steeply so snow slides off naturally rather than accumulating and adding weight. Check the roof after each significant snowfall burst.
- Stay calm and work methodically. Panic in a survival situation leads to poor decisions and wasted energy. Break the shelter-building process into manageable steps: find the site, gather materials, build the frame, insulate, then fire. Working steadily prevents sweat buildup, which can lead to dangerous chilling when you stop moving. Remove layers if you start to overheat during physical work.
- Collect firewood before you need it. Gather three times more firewood than you think necessary before nightfall. Look for standing dead wood, which is drier than fallen branches buried in snow. Birch bark and pine resin make excellent fire starters even in damp conditions. Sort your wood by size: tinder, kindling, and fuel logs, so you can feed the fire efficiently through the night.
Step-by-Step Shelter Building Process
- Find your site: Look for a large evergreen tree with a dense canopy that naturally sheds snow. Check for overhead hazards like dead branches that could fall. The ground should be level and well-drained.
- Gather your framework materials: Collect sturdy branches of varying lengths for the main structure. Look for fallen timber and dead branches you can leverage without expending excess energy.
- Build the branch framework: Lean the longest branches against the tree trunk or a ridgepole at a 45-degree angle. Fill in with smaller branches packed tightly to create wind-blocking walls.
- Insulate the ground: Before enclosing the shelter, lay down 6-8 inches of pine boughs, dry leaves, or moss. This barrier between you and the frozen ground is critical for preventing heat loss through conduction.
- Layer the exterior: Add debris, snow, or additional branches over the framework to seal gaps and improve insulation. Pack material from bottom to top so it sheds precipitation naturally.
- Build your fire and reflector wall: Position the fire a safe distance from the shelter opening. Stack green logs behind the fire to reflect heat toward your shelter. Gather three times the firewood you think you need.
- Test and refine: Check for drafts, gaps in the walls, and roof stability. Reinforce weak points before relying on the shelter overnight. Clear any snow buildup on the roof before settling in.
Gear and Equipment
Building a winter survival shelter requires minimal tools, but the right gear makes a dramatic difference in efficiency and safety. A quality fixed blade bushcraft knife is essential for processing branches, notching joints, and preparing firewood. Pair it with a compact folding saw for camping and bushcraft to cut larger branches quickly without exhausting yourself. For fire starting in wet, snowy conditions, a ferrocerium rod fire starter throws sparks even when damp, and a mylar emergency thermal blanket reflects up to 90 percent of body heat if your shelter is not yet complete. Finally, a portable wood-burning rocket stove provides a controlled fire source that works efficiently even in deep snow, conserving fuel while maximizing heat output.
As an Amazon Associate, we earn from qualifying purchases.
Winter Shelter Quick Checklist
- Choose a site under a large evergreen with dense canopy
- Check for overhead hazards and dead branches
- Gather sturdy branches for framework and smaller ones for walls
- Insulate the ground with 6-8 inches of pine boughs or dry material
- Build branch walls at 45-degree angles for wind resistance
- Position fire with a reflector wall for heat direction
- Collect three times more firewood than you think you need
- Clear snow from the roof periodically during heavy snowfall
- Avoid sweating during construction to prevent post-activity chilling
- Test for drafts and reinforce weak points before overnight use
Conclusion
Surviving a snowstorm in the wilderness comes down to preparation, resourcefulness, and the ability to work with what nature provides. The branch shelter built in this video demonstrates that you do not need expensive gear to survive extreme cold, but you do need knowledge and the discipline to execute it under pressure. The builder shows that even in a raging snowstorm, a functional shelter is achievable with patience and the right approach. Practice these shelter-building techniques before you need them, and always carry the basic tools that can make the difference between an uncomfortable night and a fatal one. The wilderness does not care about your experience level, only your preparation.