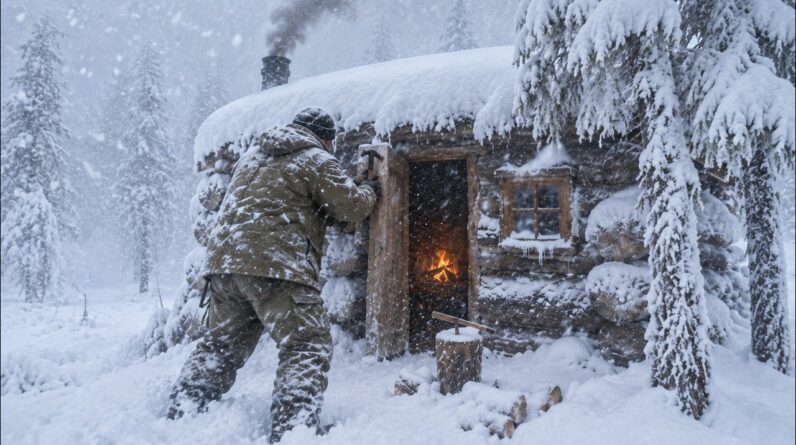
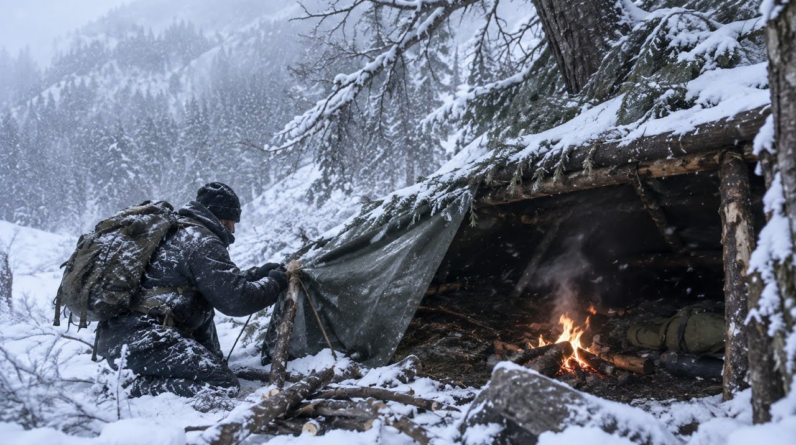
When environmental conditions worsen rapidly in a wilderness scenario, securing immediate protection against hypothermia and cold exposure is your top priority. Building a debris shelter is one of the most vital primitive survival skills because it utilizes completely natural materials found on the forest floor to construct an insulated, windproof microclimate without relying on modern gear.
In this featured demonstration by veteran woodsman Chad Zuber, we observe the exact principles required to construct an emergency thermal shelter from scratch. By taking advantage of natural topography, sturdy ridge poles, and dense dead foliage, Zuber demonstrates how an individual can maintain core body temperature overnight in harsh conditions. Understanding the structural mechanics, material selection, and insulation physics of debris huts will dramatically increase your wilderness resilience.
Understanding Debris Shelter Mechanics and Structural Design
The core concept of an effective debris hut relies on dead air space created by dead leaves, pine needles, grass, and moss. Body heat radiates outwards from your body and becomes trapped within these tiny air pockets, creating an envelope of warm air around you. However, to achieve this thermal barrier, the shelter must be built with structural integrity, proper sizing, and massive material thickness.
The foundation of the shelter begins with selecting a suitable ridge pole—a straight, stout log roughly two feet longer than your body height. One end of the ridge pole is anchored into a secure tree fork or set atop a tripod of supporting branches at waist height, while the opposite end rests firmly on the ground. Supporting ribs (stout sticks) are then angled against both sides of the ridge pole at roughly a 45-degree angle, creating an A-frame ribcage that leaves just enough internal space for your body to slide into comfortably.
A common mistake made by novice survivalists is constructing the internal space too large. If the shelter cavity contains excessive void space, your body will waste valuable calories attempting to heat an oversized chamber. The interior should fit like a wooden sleeping bag, allowing minimal dead space around your torso and extremities while providing enough headroom to roll over without dislodging the roof.
Sourcing Materials and Layering Insulation
Once the timber framework is secured with dense lattice work—smaller twigs woven across the supporting ribs—you must begin gathering insulation material in massive quantities. A functional winter debris hut requires a minimum insulation depth of two to three feet over the entire roof structure. If the external temperature drops below freezing, four feet of loose dry leaves or pine needles may be necessary to prevent heat loss.
The layering process should be performed systematically. Start with coarse materials such as pine boughs, leafy branches, and bark sheets to cover the lattice frame. Next, pile loose, dry forest debris evenly over the top, packing it lightly so it traps air without compressing flat. Finally, lay heavy branches or a secondary layer of evergreen boughs over the top layer to prevent strong winds from blowing away your insulating debris during a storm.
Equally critical is the floor insulation inside the shelter. Sleeping directly on cold, damp earth will rapidly drain body heat through conduction. Before entering the hut for the night, pack the floor with at least twelve inches of dry leaves, fern fronds, or pine needles. When you lie down, this bed will compress by half, providing six inches of dead-air insulation between your body and the frozen ground.
Key Survival Takeaways
- Minimize Interior Cavity Volume: Construct the A-frame skeleton barely larger than your body size to reduce the thermal volume your body heat must warm overnight.
- Achieve Massive Insulation Depth: Pile loose leaves, moss, and pine needles at least two to three feet thick over the frame to create effective dead-air heat trapping.
- Insulate Against Ground Conduction: Pack at least twelve inches of dry, uncompressed foliage inside the shelter floor to prevent the earth from stealing your body heat.
- Seal the Shelter Entrance: Craft an insulation plug or heap extra leaves near the opening to block freezing wind drafts once you crawl inside.
- Select Elevated Ground: Site your debris hut on high, well-drained soil away from dry riverbeds, widowmaker branches, and cold air drainage bottoms.
- Reinforce Against Wind Load: Place heavy branches or bark slabs over the loose debris layer to anchor the foliage against strong storm gusts.
Gear & Equipment
While a debris shelter can be constructed entirely by hand, having durable tools speeds up timber processing and timber gathering during an emergency:
- Bushcraft Folding Saw – Quickly cut stout ridge poles and structural frame timber without dulling blades.
- Full-Tang Survival Knife – Essential for limbing branches, carving stakes, and harvesting bark lattice.
- Ferrocerium Rod Fire Starter – Reliable spark generation in all weather conditions to ignite warmth fires outside the shelter.
- Emergency Mylar Bivy Sack – Compact reflective bivy to line your natural debris bed for extreme cold protection.
As an Amazon Associate, we earn from qualifying purchases.
Conclusion
Mastering the debris shelter gives you ultimate confidence in emergency wilderness situations. By understanding how geometry, air trapping, and ground insulation work together, you can convert forest waste into a life-saving thermal sanctuary. Practice gathering materials and building a test frame in non-emergency conditions so you can execute the build efficiently when every minute matters.