Introduction
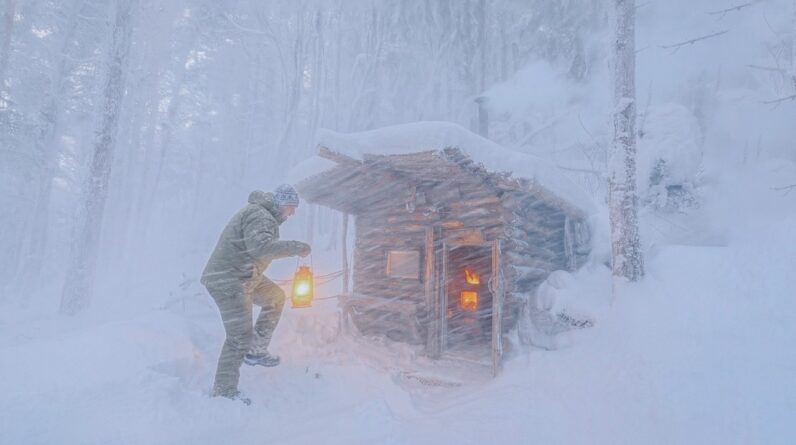
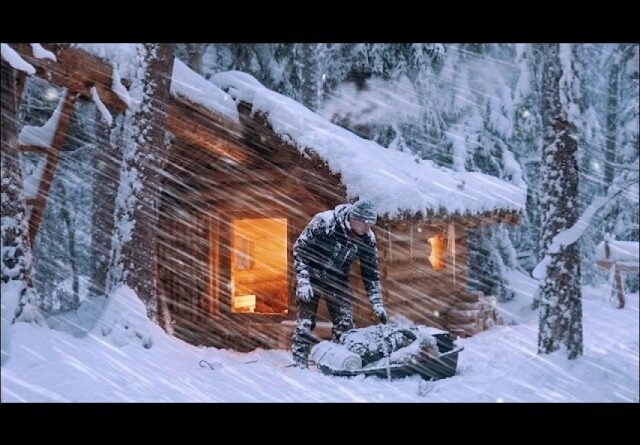
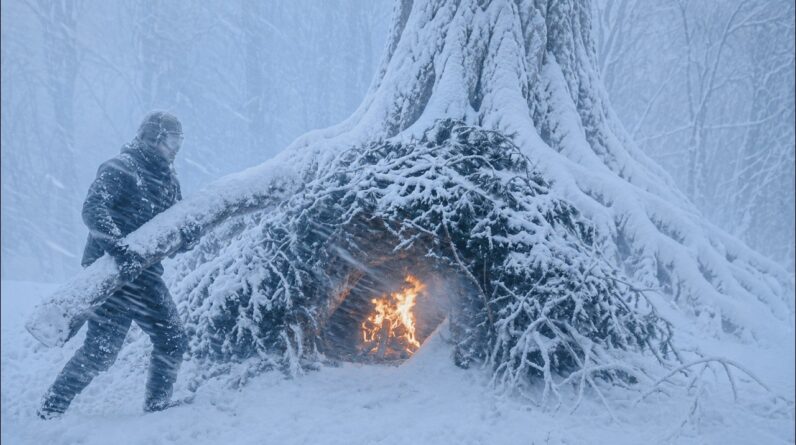
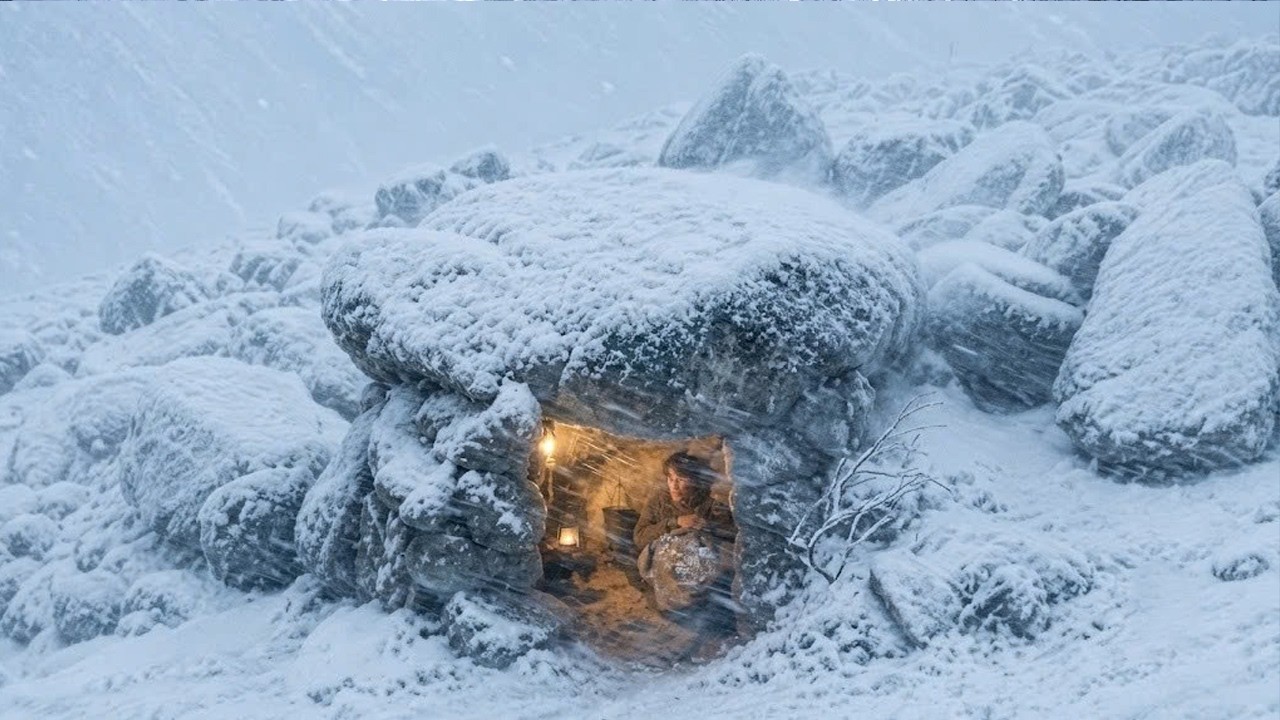
When a deadly snowstorm sweeps through the mountains, having the right shelter can mean the difference between life and death. In this gripping survival demonstration, a seasoned outdoorsman races against an approaching blizzard to construct a stone shelter using only materials found in the wilderness. The video documents every critical step of the process — from selecting the right location to stacking stones for maximum thermal efficiency and wind resistance.
Stone shelters are one of the most underrated survival structures for extreme cold environments. Unlike fabric tents or lean-to debris huts, stone absorbs heat from a small internal fire and radiates it back slowly throughout the night, maintaining interior temperatures far above the killing cold outside. The thermal mass effect means you stay warmer with less fuel — a critical advantage when firewood is buried under snow and every calorie of energy you expend matters.
Whether you are a backpacker, hunter, or backcountry adventurer, understanding emergency shelter construction is one of the most important survival skills you can develop. This guide breaks down the key lessons from the video into actionable knowledge you can apply in your own winter wilderness adventures. We cover location selection, construction technique, insulation strategies, ventilation safety, and the essential gear that could save your life when the temperature drops and the wind howls.
Why Stone Shelters Excel in Extreme Cold
Not all emergency shelters are created equal. A debris hut might work in mild conditions, but when temperatures plummet below freezing and winds exceed 40 mph, you need a structure that can withstand serious punishment. Stone shelters offer several unique advantages that make them ideal for blizzard survival scenarios:
- Thermal mass: Stone absorbs heat from your body and any internal fire, then radiates it back slowly over hours. This creates a passive heating effect that keeps the interior warmer than the ambient temperature long after your fire dies down.
- Wind resistance: Properly stacked stone walls can withstand hurricane-force winds that would shred a tarp or collapse a snow cave. Once built, your shelter stays put.
- Durability: Unlike organic materials that degrade or compress over time, stone maintains its structural integrity throughout the storm. You will not wake up to find your roof has sagged onto your face.
- Availability: In mountainous and rocky terrain, building materials are everywhere. No need to carry shelter components — the landscape provides.
Key Survival Takeaways
- Location Selection Is Everything: Build on elevated, wind-shielded terrain to prevent snow accumulation at the entrance and reduce exposure to biting winds. Look for natural windbreaks like boulder formations or dense tree lines that provide additional protection from prevailing weather. Avoid low-lying areas where cold air pools and snowdrifts form deepest.
- Thermal Mass Advantage: Stone absorbs and radiates heat slowly, making it an excellent thermal mass material. Once warmed by a small internal fire, the stones continue radiating warmth long after the flames die down, keeping the interior significantly warmer than the ambient temperature outside. This passive heating can be the difference between survivable discomfort and dangerous hypothermia.
- Work Against the Clock: When a blizzard is approaching, speed matters more than perfection. Prioritize a basic wind-blocking structure first, then improve it as time allows. A partial shelter completed before the storm hits is infinitely better than a perfect one left half-finished. Set a time limit for each construction phase and move on when it expires.
- Insulate the Floor: Cold conducts rapidly up from frozen ground. Layer pine boughs, dry leaves, or any available organic insulation between your body and the stone floor to prevent conductive heat loss and hypothermia. Aim for at least 6 inches of insulation material — your back will thank you.
- Narrow the Entrance: A small opening reduces heat loss and blocks wind-driven snow from entering. Face the entrance away from prevailing winds and build a small secondary windbreak just outside the doorway for added protection. The ideal entrance is just wide enough to crawl through.
- Ventilation Matters: Even in extreme cold, a completely sealed shelter risks carbon monoxide buildup if you introduce any flame inside. Always leave a small gap at the top of the structure for airflow and combustion gas escape. Carbon monoxide is odorless and kills silently — never skip this step.
- Seal Gaps With Natural Materials: Mud, moss, and packed snow can fill gaps between stones, dramatically improving insulation and blocking cold drafts that would otherwise sap your body heat. Take the time to chink every visible gap before settling in for the night.
Step-by-Step Construction Process
Building a stone shelter under pressure requires a systematic approach. Here is the general sequence demonstrated in the video:
- Scout the site: Find elevated ground with natural wind protection. Look for existing rock formations you can build against to reduce the amount of stone you need to move.
- Lay the foundation: Clear snow and loose debris from the building area. Place the largest, flattest stones first to create a stable base. This prevents shifting during construction.
- Build the walls: Stack stones in overlapping layers, similar to bricklaying. Keep walls thicker at the base and taper slightly toward the top for stability. Fill major gaps with smaller rocks as you go.
- Create the roof opening: Leave a gap at the top for ventilation. If using a flat stone roof, span the opening with long flat rocks, then seal gaps with moss and mud.
- Narrow the entrance: Build the entrance small and oriented away from prevailing wind. Stack stones to create a low tunnel that blocks direct wind entry.
- Insulate and seal: Pack all remaining gaps with mud, moss, and snow. Layer the floor with pine boughs or dry vegetation for ground insulation.
- Add an external windbreak: Stack a small wall just outside the entrance to deflect wind away from the opening.
Essential Winter Survival Gear
A well-stocked winter survival kit dramatically increases your odds when facing extreme cold conditions. Even if you plan to build a natural shelter, carrying the right gear gives you a critical edge. A reliable ferrocerium rod fire starter ensures you can ignite a fire even in damp, freezing conditions when matches fail. Ground insulation is critical, and a thermal emergency survival blanket reflects up to 90% of your body heat when you need it most.
For cutting branches, shaping natural materials, and processing firewood, a sturdy fixed blade bushcraft knife is absolutely indispensable — choose full-tang construction for maximum durability. A waterproof survival tarp adds an extra layer of weather protection over any improvised shelter entrance or can serve as an instant ground cloth. Finally, an insulated subzero winter sleeping bag provides critical warmth when temperatures plummet well below freezing, buying you hours of restorative sleep that could mean the difference between making it through the night and not.
As an Amazon Associate, we earn from qualifying purchases.
Conclusion
Building a stone shelter in a blizzard may seem like an extreme scenario, but the core principles shown in this video apply to any cold-weather survival situation. Plan ahead, work fast, insulate from the ground up, and always maintain proper ventilation. The thermal mass advantage of stone is a game-changer that most survival guides overlook — once you understand how to harness it, you have a powerful tool in your wilderness skill set.
Mastering these skills before you actually need them could save your life in the backcountry. Study the techniques shown in the video, assemble your winter survival kit, and practice building shelters in fair weather so you are fully prepared when the storm arrives. The best time to learn shelter construction is on a sunny day — the worst time is when the snow is already falling and the wind is picking up.