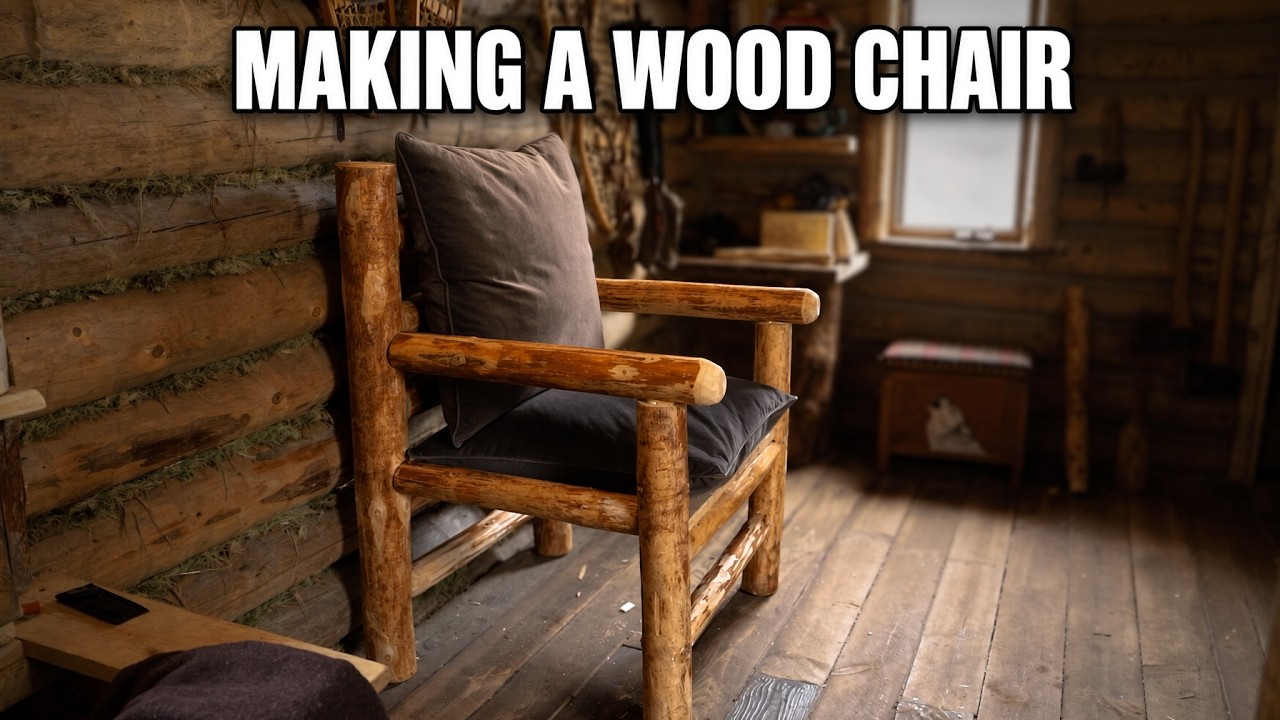
Furnishing an off-grid cabin without a hardware store nearby means every piece of furniture has to come from the land and your own two hands. In this video from My Self Reliance, a solo homesteader in the Canadian wilderness builds a completely custom wooden chair for his cabin interior, starting with rough logs and finishing with a comfortable, cushioned seat. There is no trip to town, no power tools, and no kit furniture, just traditional skill applied one careful step at a time.
If you have ever wondered whether you could make real, usable furniture with hand tools alone, this build answers that question. You will learn how to select and peel suitable logs, how to join round wood into a sturdy frame, how to fit a flat seat base onto a round-wood structure, and how to finish the piece so it feels like something you would actually want to sit in after a long day outdoors. The same principles apply to tables, benches, and beds, making this a foundational skill for any homestead.
Key Survival Takeaways
- Work with green wood while it is still workable. Freshly cut logs peel far more easily with a drawknife, and green wood can be shaped and fitted before it fully hardens, which saves enormous effort in a hand-tool-only workshop.
- Round-wood joinery does not require hardware. Mortise-and-tenon joints bored with a hand auger and fitted with hand-carved tenons produce a chair frame strong enough for daily use, a technique that transfers directly to shelters, furniture, and camp improvements in the field.
- Measure against the body, not a tape. Seat height, back angle, and depth were set from the builder’s own proportions. In a remote setting, comfortable furniture depends on fitting the person, not matching store dimensions.
- Flatten surfaces incrementally. Converting a round log into a stable seat base is done in stages: score, split or hew, then smooth. Rushing the flattening step is what makes rustic furniture wobble and fail.
- Finishing is functional, not cosmetic. Sanding, sealing, and adding cushions protect the wood from wear and moisture, dramatically extending the life of anything you build in a humid cabin environment.
- Patient sequencing matters. Materials were gathered and prepared before assembly began. In off-grid work, running out of a prepared component mid-build wastes time and energy that is hard to replace.
The Build, Step by Step
Planning and Preparing the Materials
The build begins in the forest with selecting logs of the right diameter and straightness, then peeling the bark clean. Bark left on wood invites insects and traps moisture, so a sharp drawknife and a steady rhythm turn raw timber into smooth, pale chair stock. This is slow, physical work, and it is a reminder that in a self-reliant lifestyle, exercise and craftsmanship are the same activity.
Assembling the Main Log Chair Frame
With the stock prepared, the frame comes together through round-wood joinery. Bored mortises receive carved tenons, and each joint is test-fitted, adjusted, and seated firmly. Because the frame carries every load the chair will ever experience, the builder checks geometry constantly: legs square, back upright, and joints drawn tight before anything is locked into place.
Installing the Seat Base
A comfortable chair needs a flat platform on a round-wood skeleton. The seat stock is hewn and smoothed to give the sitter even support, then fastened into the frame. This is where the project stops looking like a pile of logs and starts looking like furniture you could trust at the dinner table.
Cushions and Finishing
Finally, the chair gets surfaces you actually want to touch. Edges are eased, the wood is cleaned up, and cushions turn a hard wooden seat into a genuinely comfortable place to rest by the wood stove. The result is a piece that would not look out of place in a rustic furniture catalog, built entirely with hand tools in the woods.
Gear & Equipment
You can replicate this build with a surprisingly short list of tools. A quality drawknife for peeling and shaping green logs is the workhorse of round-wood work, while a sharp mortise chisel set cleans up bored joints for a tight fit. A hand auger or brace and bit hand drill bores the mortises without electricity, and a log scribe helps transfer natural log contours onto your joinery layout. Finish shaping with a spokeshave for smoothing curved surfaces.
As an Amazon Associate, we earn from qualifying purchases.
Frequently Asked Questions
What wood works best for hand-built log furniture? Straight, green softwoods like pine, cedar, or poplar peel easily and carve cleanly, which makes them ideal for round-wood furniture. Avoid rotten or heavily checked logs, and peel the bark right away so the wood dries evenly.
Can you really build sturdy furniture without power tools? Yes. Boring mortises with a brace and bit and carving tenons with a knife or chisel produces joints that hold for decades. It takes longer than powered joinery, but the finished piece is just as strong.
How do you keep green-wood furniture from cracking? Let the wood dry slowly in a shaded, ventilated space, seal the end grain with wax or paint, and keep finished pieces away from direct heat sources. Some checking is normal in round-wood work and rarely affects the strength of a joint.
Final Thoughts
Building a custom cabin chair from raw logs is more than a woodworking project; it is proof that comfort off the grid comes from skill rather than a shopping cart. Every technique in this build, from peeling green wood to fitting mortise-and-tenon joints, scales up to larger homestead projects. Ready to take on a bigger structure? See how the same round-wood thinking goes into an elevated river treehouse shelter build. Watch the full build, take notes, and the next time your camp needs furniture, you will know exactly where to start.