Master a Reliable Bushcraft Lashing
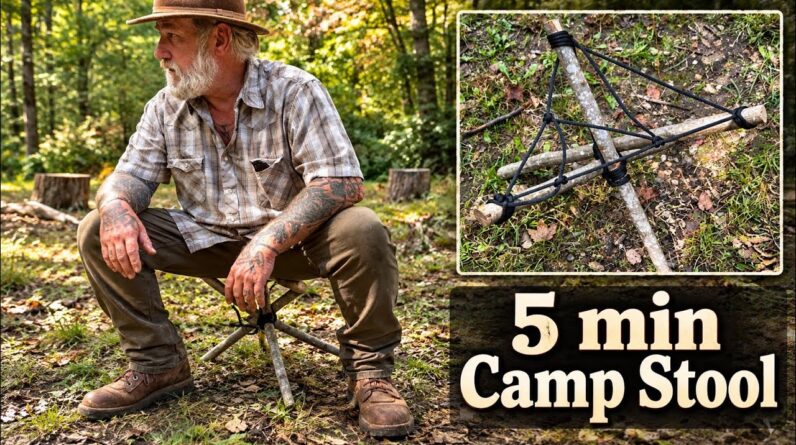
A properly tensioned lashing can turn poles and cordage into a tripod, shelter frame, pack repair, or useful camp structure. In a survival setting, the goal is not a decorative knot; it is a joint that controls movement and transfers force predictably.
The Coalcracker Bushcraft demonstration provides a practical starting point. The skill becomes dependable when you understand alignment, friction, tension, and how to inspect a joint before loading it. Practice with large rope and poles first, then repeat the sequence with gloves and cold hands.
Key Survival Takeaways
- Choose sound poles and cordage; damaged materials can fail regardless of knot quality.
- Align poles so the load travels through the joint instead of prying it apart.
- Keep wraps snug and even without cutting into natural-fiber cordage.
- Use frapping turns to tighten the bundle and reduce wobble.
- Finish the working end securely and test with light loads first.
- Match cordage to conditions: natural fibers grip well, while synthetic line handles wet weather and higher loads better.
- Practice in darkness, gloves, and bad weather so the technique works outside the workbench.
Recommended Bushcraft Gear
Practice with 550 paracord and natural hemp cordage. A fixed-blade bushcraft knife, folding saw, and waterproof cordage bag make practice and field repairs easier.
As an Amazon Associate, we earn from qualifying purchases.
Use Lashings Safely
Do not rely on an improvised lashing for engineered structures, overhead loads, or anything supporting a person. Control cutting tools, unload a shifting joint, and rebuild it instead of simply adding more rope.